
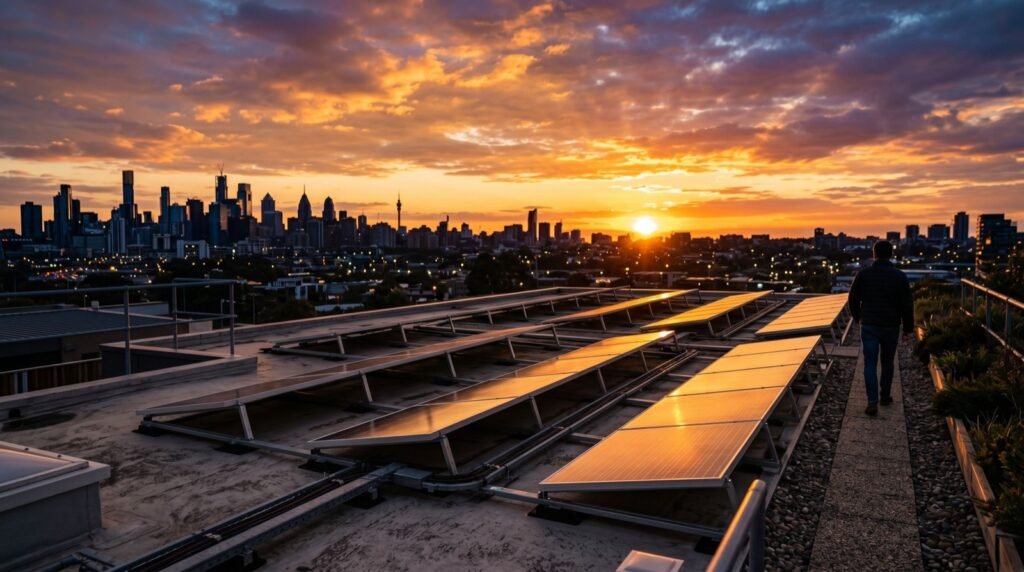
Solar Installation in Gujranwala: 2026 Step-by-Step Guide
Gujranwala’s blend of dense residential neighbourhoods and busy small-industry units means every rooftop is a potential power plant. If you are planning a solar installation in Gujranwala this year, the difference between a system that quietly pays you back and one that disappoints comes down to process. In 2026, the hardware is cheaper and better than ever, but the sequence of decisions you make still determines the outcome.
This is a practical, stage-by-stage walkthrough. It covers the energy audit, component selection, the installation day itself, and commissioning, so you know what good looks like at every checkpoint.
Why a Methodical Solar Installation in Gujranwala Matters
Gujranwala summers are hot and dusty, and the grid is prone to long outages. Both facts shape your design. Heat reduces panel efficiency, so component quality and airflow under the panels matter. Dust means accessible panels for cleaning. Rushing past these realities is why some cheap installs underperform within a single year.
A disciplined approach also protects your net metering eligibility, your warranty claims, and your roof’s waterproofing. Treat it as a project with distinct phases rather than a single purchase.
Step 1: Run a Real Energy Audit
Before anyone quotes you a system size, understand your own consumption. Pull twelve months of bills and note the units used in your heaviest month, usually July or August when air conditioning peaks.
- Record monthly units (kWh) for a full year.
- Identify your single highest-consumption month.
- List your heavy loads: ACs, water pump, refrigerator, and any workshop machinery.
- Decide whether you want full backup, partial backup, or a grid-tied export system only.
This audit prevents the two classic errors: paying for an oversized array you never fully use, or installing a system too small to dent your summer bills.
Step 2: Choose the Right Components
Three choices dominate performance and cost: the panels, the inverter, and the mounting structure. Here is how the main options compare for Gujranwala conditions.
| Component | Budget Option | Recommended | Why It Matters |
|---|---|---|---|
| Panels | Polycrystalline | Tier-1 monocrystalline PERC | Higher efficiency in heat, better warranty |
| Inverter | Basic string (grid-tie) | Hybrid, battery-ready | Lets you add storage without replacement |
| Mounting | Light GI rails | Hot-dip galvanised, wind-rated | Survives dust storms and summer gusts |
Which Inverter Type Is Best for Load-Shedding?
For Gujranwala’s frequent outages, a hybrid inverter is usually the smart pick. It runs grid-tied for net metering on normal days but can draw from a battery during load-shedding, keeping fans, lights, and a refrigerator alive. A pure grid-tied inverter is cheaper but goes dark the moment the grid does, which defeats much of the purpose here.
Step 3: Installation Day
A professional crew should complete a typical home install in one to three days. Watch for the quality markers that separate a durable job from a risky one.
- Roof penetrations sealed with proper flashing, not just sealant smeared on top.
- Panels mounted with an air gap so heat escapes beneath them.
- DC and AC cabling run in conduit, labelled, and protected from the sun.
- A clearly accessible DC isolator and AC disconnect for safety.
Panel orientation should face south with a tilt near your latitude. Even minor shading from a water tank or neighbouring wall can disproportionately cut output, so insist on a shade analysis.
Step 4: Commissioning and Net Metering
Once wired, the system is tested, the monitoring app is configured, and generation data begins flowing. For grid export, your installer files the net metering application with your distribution company, which inspects the work and fits a bidirectional meter. The underlying standards for grid-connected systems draw on international guidance such as the International Electrotechnical Commission (IEC) safety norms, so a conscientious installer will not cut corners on protection devices.
Confirm you receive the full documentation set: panel and inverter serial numbers, warranty cards, the single-line diagram, and app login credentials. Without these, future warranty claims become painful.
Step 5: Maintenance and Monitoring
Installation is the start, not the finish. A rooftop system in Gujranwala needs light but consistent care to hold its output through the dusty, hot months. The single biggest avoidable loss here is simple surface dust, which can cut generation noticeably within weeks during the dry season.
Use the monitoring app to build a habit of checking daily yield against expectation. A sudden drop usually points to shading from new construction, a dirty panel string, or a tripped breaker, all of which are quick to diagnose when you catch them early.
- Rinse panels gently every two to four weeks in dry weather.
- Compare daily output to the same month last year to spot slow decline.
- Check that mounting bolts and earthing remain tight after dust storms.
- Keep warranty cards and the single-line diagram somewhere you can find them.
These habits cost almost nothing and protect the two-decade return the system was designed to deliver.
Choosing Your Installer
Workmanship outlives the sales pitch. Prioritise an installer with a verifiable track record, a written performance guarantee, and after-sales support based locally. A dependable solar installation in Gujranwala partner will handle the net-metering paperwork and return for scheduled maintenance rather than vanishing after payment.
If you own property in other regions, the same vendor standards should travel with you; a quality team installing solar panels in Quetta will adapt the design to cold, high-altitude conditions rather than copy-pasting a Punjab layout.
Vetting any contractor is a skill. Our overview of choosing quality service providers covers how to compare quotes and read contracts without getting burned.
Frequently Asked Questions
How many days does a solar installation in Gujranwala take?
A typical residential system is physically installed in one to three days. Net metering approval and the bidirectional meter swap can add a few weeks depending on your distribution company’s processing time.
Do I need to clean my panels in Gujranwala’s dust?
Yes. Dust accumulation is the biggest avoidable loss here. A gentle rinse every two to four weeks during dry months keeps output near peak. Avoid abrasive brushes that can scratch the glass.
Can one system power my air conditioners?
It can, provided it is sized for your summer peak and your inverter capacity matches the surge current of your ACs. Inverter ACs draw less and pair especially well with solar.
Is a battery essential from day one?
No. Many homeowners start grid-tied with a hybrid inverter and add batteries later. The key is choosing a battery-ready inverter now so the upgrade is simple and affordable.
The Bottom Line
A successful solar installation in Gujranwala is the product of a clear process: audit your usage, choose Tier-1 components and a hybrid inverter, demand a clean install, and commission with full documentation and net metering in place. Follow those stages in 2026 and you convert a hot, outage-prone rooftop into a reliable, bill-slashing asset for the next two decades. Start with an energy audit and a written quote, and insist your installer walks you through every checkpoint above before you sign.